
Enable Shield
Turn on Monk CI Shield for your GitHub organization in five steps.
Before You Start
| Requirement | Why |
|---|---|
| Shield is enabled for your organization | Shield is in beta and switched on per organization. If there is no Shield entry in your sidebar, email us. |
| You are a GitHub organization owner or admin | Activation creates an organization ruleset, which only owners and admins can do. |
| Your org is on GitHub Team or Enterprise | GitHub offers organization rulesets on paid org plans only. |
| The Monk CI debug-agent GitHub App is installed | The wizard installs it for you in step 1 if it is not already. |
Members cannot activate Shield
If you are not an owner or admin, the wizard shows which scanners Shield would turn on but the Activate button is unavailable. Ask an organization admin to complete the setup - once they do, scanning starts on everyone's pull requests, including yours.
Open Shield
In your Monk CI dashboard sidebar, click Enable Shield. It sits just above the main navigation, and reads Switch to Shield once Shield is active.
This opens the setup wizard. Leave at any point with Back to CI - nothing is applied to your GitHub organization until you finish the last step.
Set Up Shield
Install App
Click Install debug agent and authorize the app on your GitHub organization in the new tab.
Return to the Monk CI tab and click Already installed - refresh. The wizard advances automatically.
If you already use Monk CI Agents, this app is likely installed and the wizard skips to the next step.
Detect Tools
Wait while Shield checks every repository for security tooling you already run - GitHub secret scanning and push protection, Dependabot, CodeQL, and third-party scanners such as Snyk configured in your workflows.
Review the summary, then click Next.
On large organizations, click Continue anyway to proceed with what has been found so far. Detection continues in the background and the remaining repositories appear on your dashboard when they finish.
Choose Tools
Shield pre-selects scanners based on what it found. Where an existing tool already covers a scanner, Shield turns its own off to avoid duplicate findings.
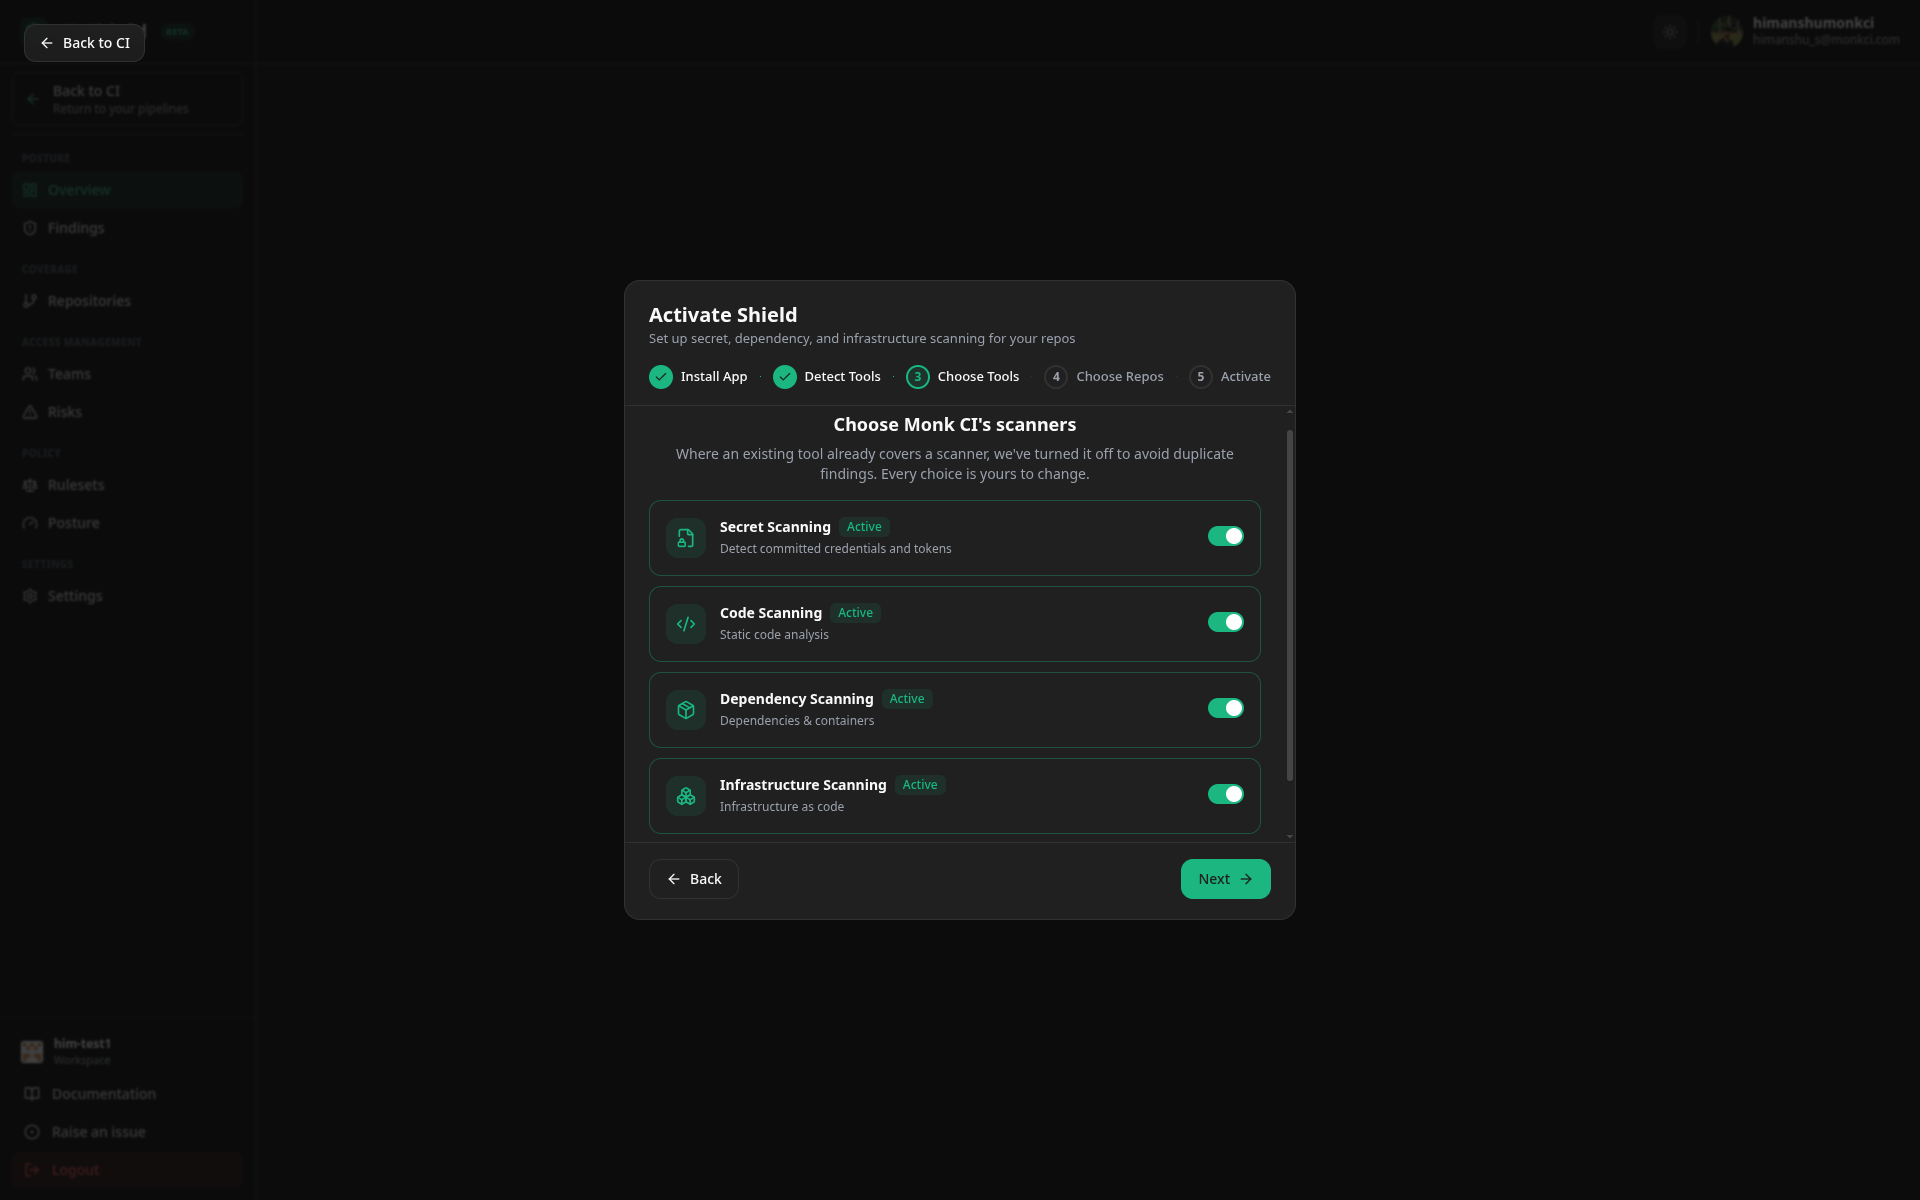
- Accept the suggestion to leave a scanner off where you already have that coverage.
- Toggle a scanner back on to add Shield's coverage on top. A warning icon marks where findings may overlap, as on Dependency Scanning above.
- Keep at least one scanner on.
Click Next. See Choose Your Scanners for what each covers.
Choose Repos
Select which repositories Shield scans. All are selected by default - use the search box to filter, then select or deselect individually or all at once.
To start small, deselect all and pick one or two high-traffic repositories. Widen coverage later from Settings.
Activate
Check the summary, choose your enforcement mode, then click Activate Shield.
Choose Your Enforcement Mode
Recommended: activate in Monitoring mode.
Monitoring is the default on the Activate step. Scans run on every pull request and results land in your dashboard, but no one is blocked.
Monitoring
Active
To roll out without disrupting your team
- Activate in Monitoring mode.
- Let a week of pull requests accumulate findings.
- Clear the critical and high items from Fix these first on your Overview.
- Switch to Active under Settings → Enforcement mode.
Switching to Active asks you to confirm, because it starts blocking merges for everyone. Switching back to Monitoring applies immediately.
After You Activate
Do not edit the .monk-ci repository
Shield creates a repository named .monk-ci holding the security workflow, plus an organization ruleset named Monk CI Shield. Both are managed for you - change scanners and coverage from Settings instead of editing them by hand.
Findings appear once the first pull request is opened on an in-scope repository. Nothing is scanned retroactively, so a repository stays marked unscanned until it sees pull request activity.
Triage Findings
Read the Overview, filter the findings list, check repository coverage.
Change Your Settings
Toggle scanners, switch enforcement mode, adjust repository coverage.
Troubleshooting
| Message | What to do |
|---|---|
| "GitHub Team or Enterprise required" | Upgrade your GitHub organization plan, then activate again. |
| "GitHub App not installed" | Reinstall the debug agent from step 1 of the wizard, then try again. |
| "Ask an admin to enable Shield" | Ask an owner or admin of your GitHub organization to run the wizard. |
| No Shield entry in the sidebar | Email us and we will enable Shield for your organization. |
| Activation failed part-way through | Retry the wizard. Shield cleans up after a failed activation. If it keeps failing, contact support. |